Introduction
When working in an organization or as a freelancer, one always faces an issue with file storage. There are millions of documents, images and important files that you need to store and access from multiple locations. You can always get yourself some space in Google Cloud, AWS or Azure. However, you can never be sure with senstitive files, especially if you’re working for a government (or military) organization. That’s where NextCloud comes in.
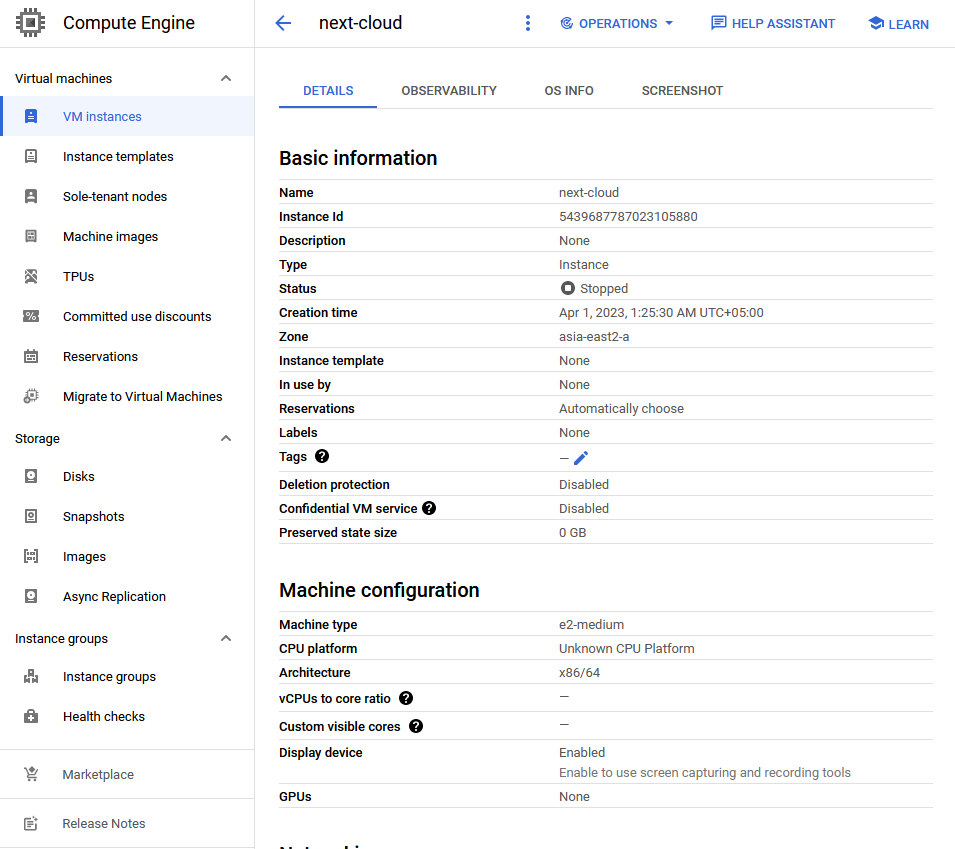
NextCloud is a free and open-source software for creating your very own private cloud storage. It offers tonnes of features while being dedicated to you and your organization. We can set up NextCloud in any environment including Windows, Linux. It can even be set up on a cloud instance! For this assignment, I will be setting up NextCloud on an Ubuntu-based Compute Instance on Google Cloud Platform.
Task 1. Setting up NextCloud
Pre-requisites
Update and upgrade your operating system
1
sudo apt-get update && sudo apt-get upgrade
Install the dependencies needed to configure and run NextCloud
1
2
3
sudo apt install apache2 mariadb-server libapache2-mod-php8.1
sudo apt install php8.1-gd php8.1-mysql php8.1-curl php8.1-mbstring php8.1-intl
sudo apt install php8.1-gmp php8.1-bcmath php-imagick php8.1-xml php8.1-zip
Setting up backend database
Start the MySQL server and log into the server console as the root user
1
2
sudo systemctl start mysql
sudo mysql -u root -p
Create an admin user for your NextCloud server and grant it privileges for the “nextcloud” database.
* Change “abdullahirfan2001” to your username and “password” to your password.
1
2
3
4
5
CREATE USER 'abdullahirfan2001'@'localhost' IDENTIFIED BY 'password';
CREATE DATABASE IF NOT EXISTS nextcloud CHARACTER SET utf8mb4 COLLATE utf8mb4_general_ci;
GRANT ALL PRIVILEGES ON nextcloud.* TO 'abdullahirfan2001'@'localhost';
FLUSH PRIVILEGES;
quit;
Downloading and configuring NextCloud
Download NextCloud from the official server and unzip the downloaded archive.
1
2
wget https://download.nextcloud.com/server/prereleases/nextcloud-25.0.0rc3.zip
unzip nextcloud*
Copy the unzipped folder to the /var/www/ directory so that we can configure it to run on our Apache server.
1
sudo cp -r nextcloud /var/www/
Open the Apache configuration file for NextCloud…
1
sudo nano /etc/apache2/sites-available/nextcloud.conf
…and add the following lines to it
1
2
3
4
5
6
7
8
9
10
11
12
Alias /nextcloud "/var/www//assets/NextCloud/"

<Directory /var/www//assets/NextCloud/>
  Require all granted
  AllowOverride All
  Options FollowSymLinks MultiViews

  <IfModule mod_dav.c>
    Dav off
  </IfModule>

</Directory>
Enable the nextcloud website
1
sudo a2ensite nextcloud.conf
Enable additional modules needed to run NextCloud without any errors
1
2
3
4
5
sudo a2enmod rewrite
sudo a2enmod headers
sudo a2enmod env
sudo a2enmod dir
sudo a2enmod mime
Restart the Apache server to make the changes effective
1
sudo systemctl restart apache2
Enable SSL for secure communication to your cloud and reload the Apache server
1
2
3
sudo a2enmod ssl
sudo a2ensite default-ssl
sudo service apache2 reload
Giving ownership of the NextCloud website to Apache
1
sudo chown -R www-data:www-data /var/www//assets/NextCloud/
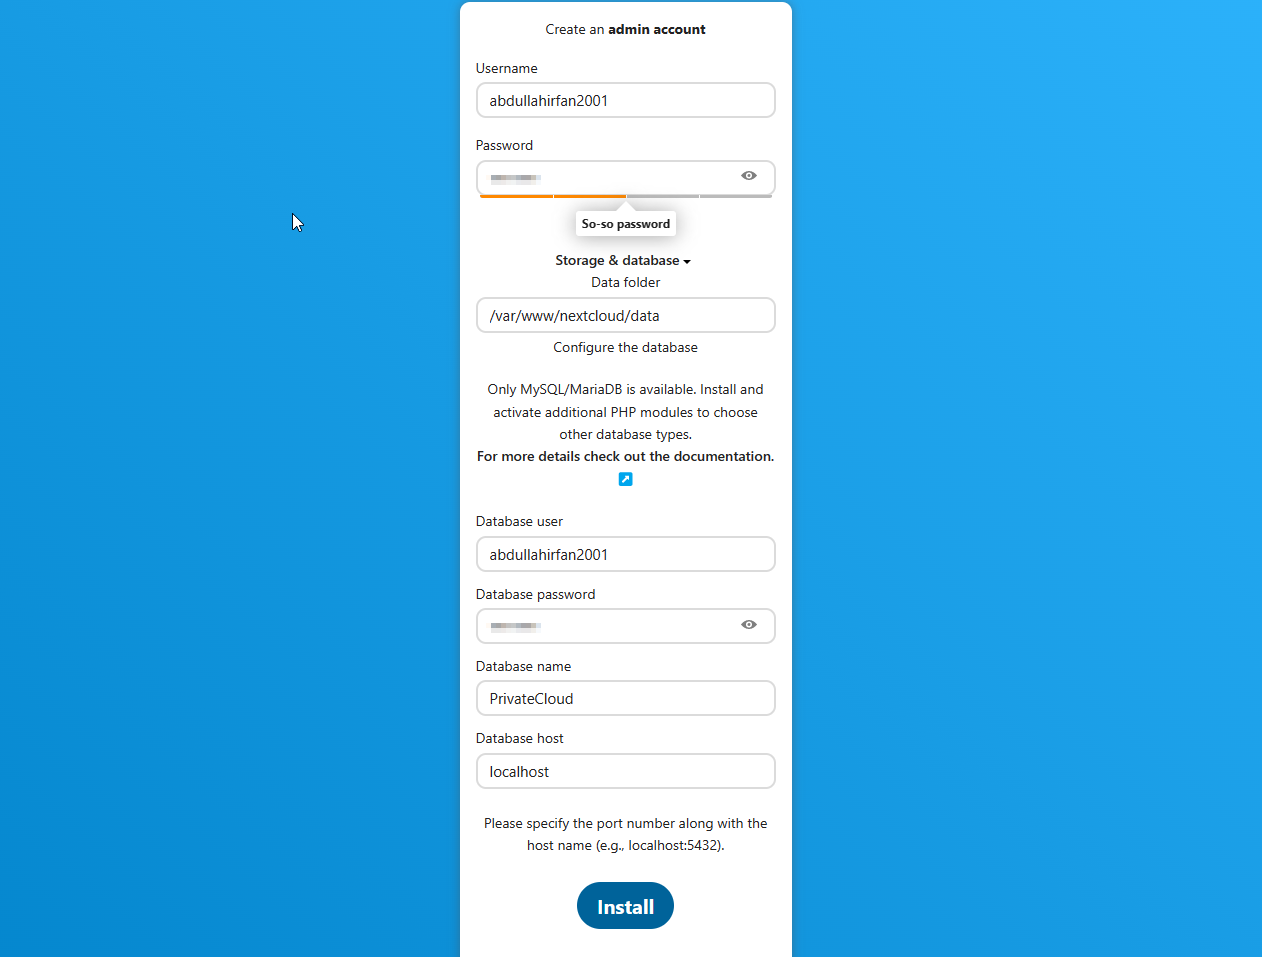
Installation Wizard
Navigate to https://{PUBLIC_IP}//assets/NextCloud/ to access the installation wizard. For Database Name, put in nextcloud and for Database host, put in localhost:3306. Enter the username and password you previously set up in your database and you’re good to go.
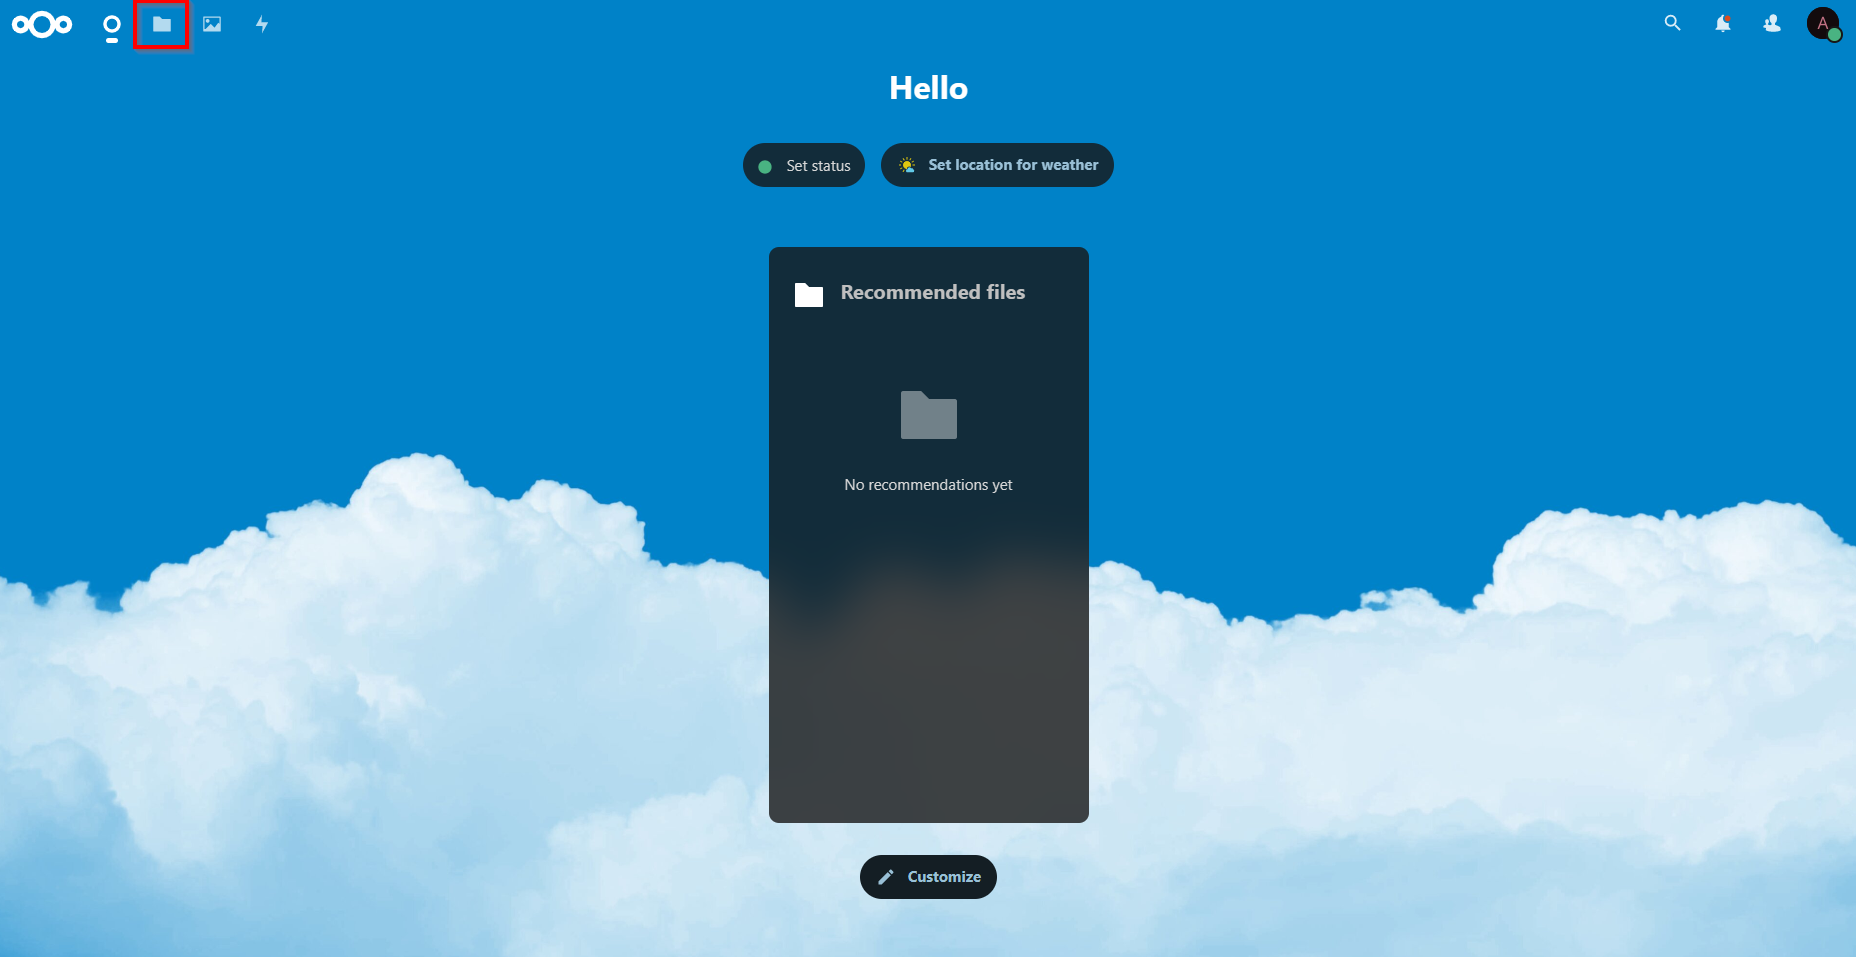
Congratulations, you have successfully set up your very own private cloud! Here is the screen you should now be able to see.Click on the folder-looking icon on the top to access your cloud storage.
Adding Files
To add a file to your very own cloud storage, click on the “+” button…
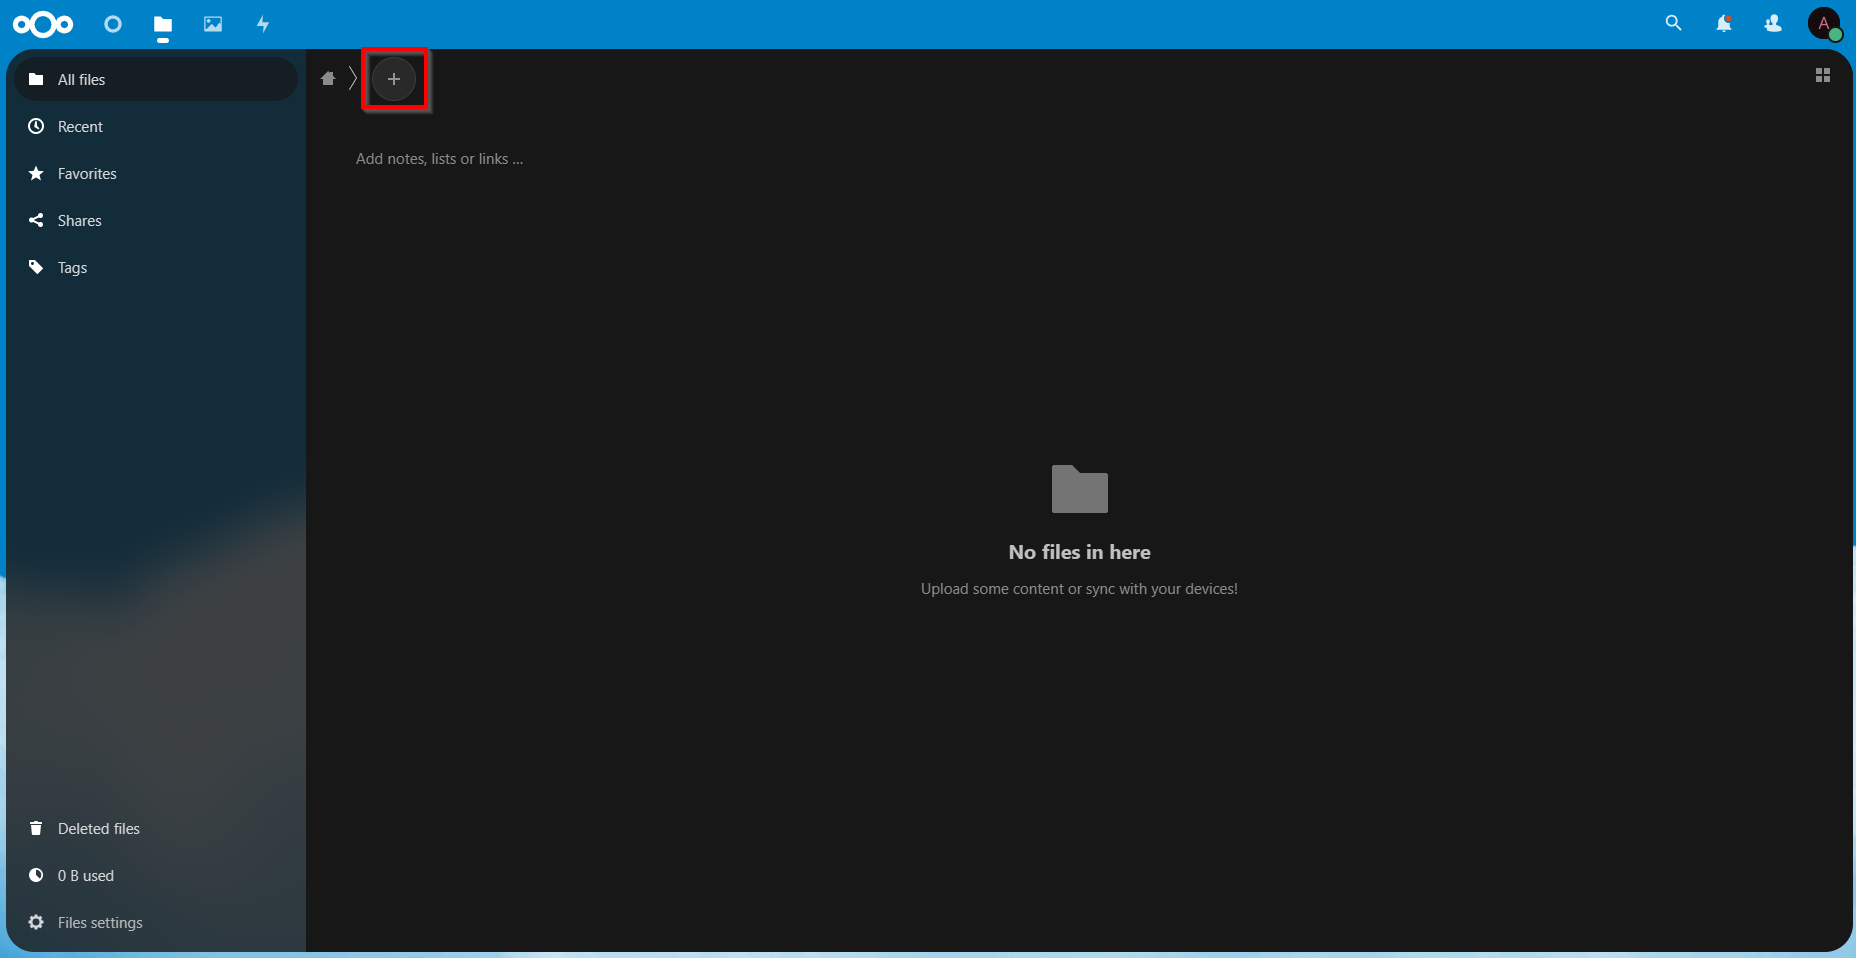
…and select the file you want to upload.
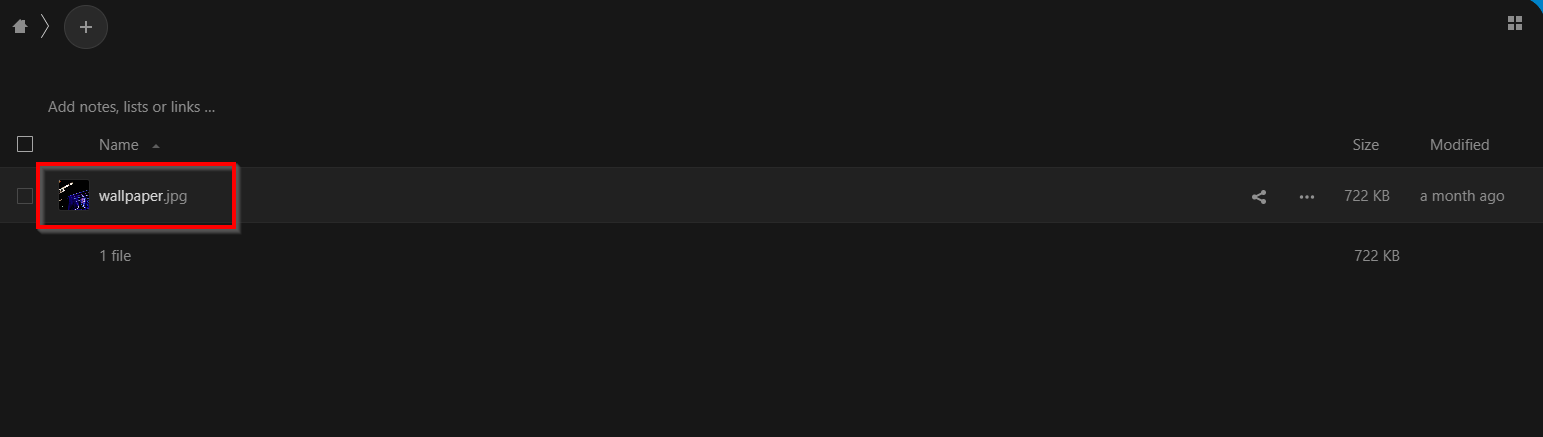
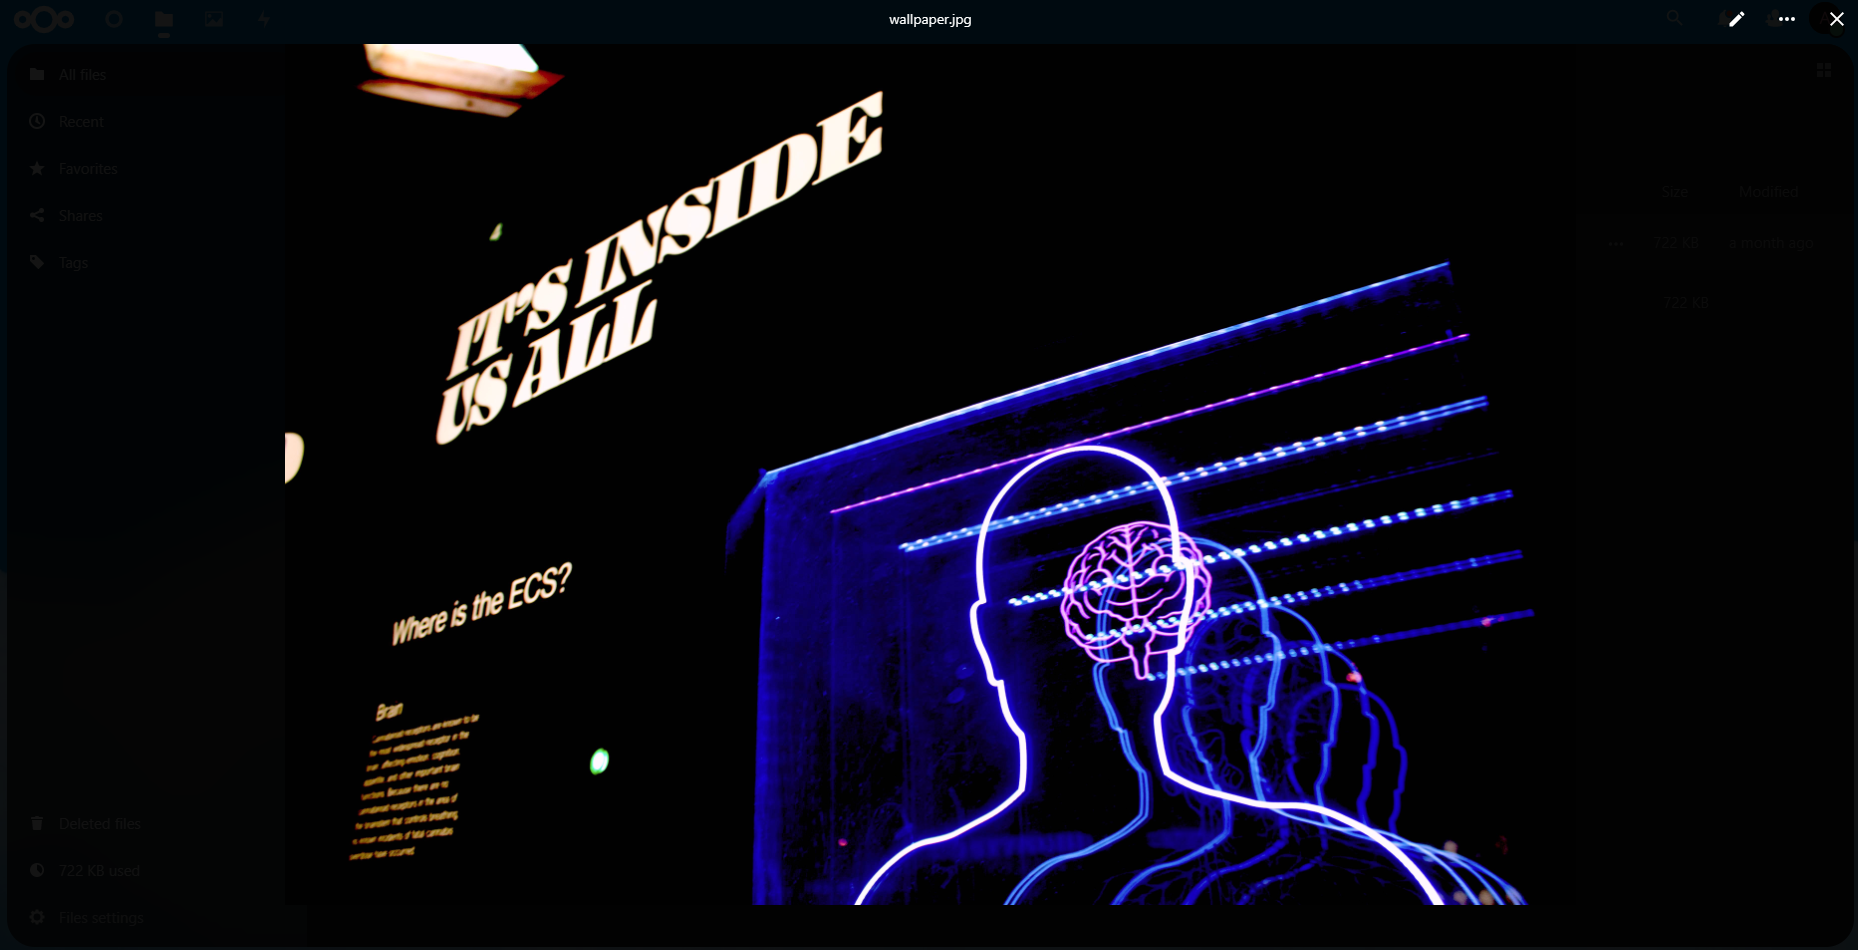
Now, you will be able to see your uploaded file in the directory listing. Click on your file to view it.
Task 2. Describe your cloud service model and deployment model
Deployment Model: Private Cloud
This cloud is private since it is deployed on your own infrastructure and is only usable by people/organizations that you have authorized.
Service Model: IaaS and PaaS
The general opinion about cloud storage is that it is IaaS (Infrastructure as a Service) because the users are being provided with storage infrastructure. However, NextCloud can be classified as PaaS (Platform as a Service) since it provides a complete platform with security, user management and division of storage. I would classify this service model as a hybrid of IaaS and PaaS.
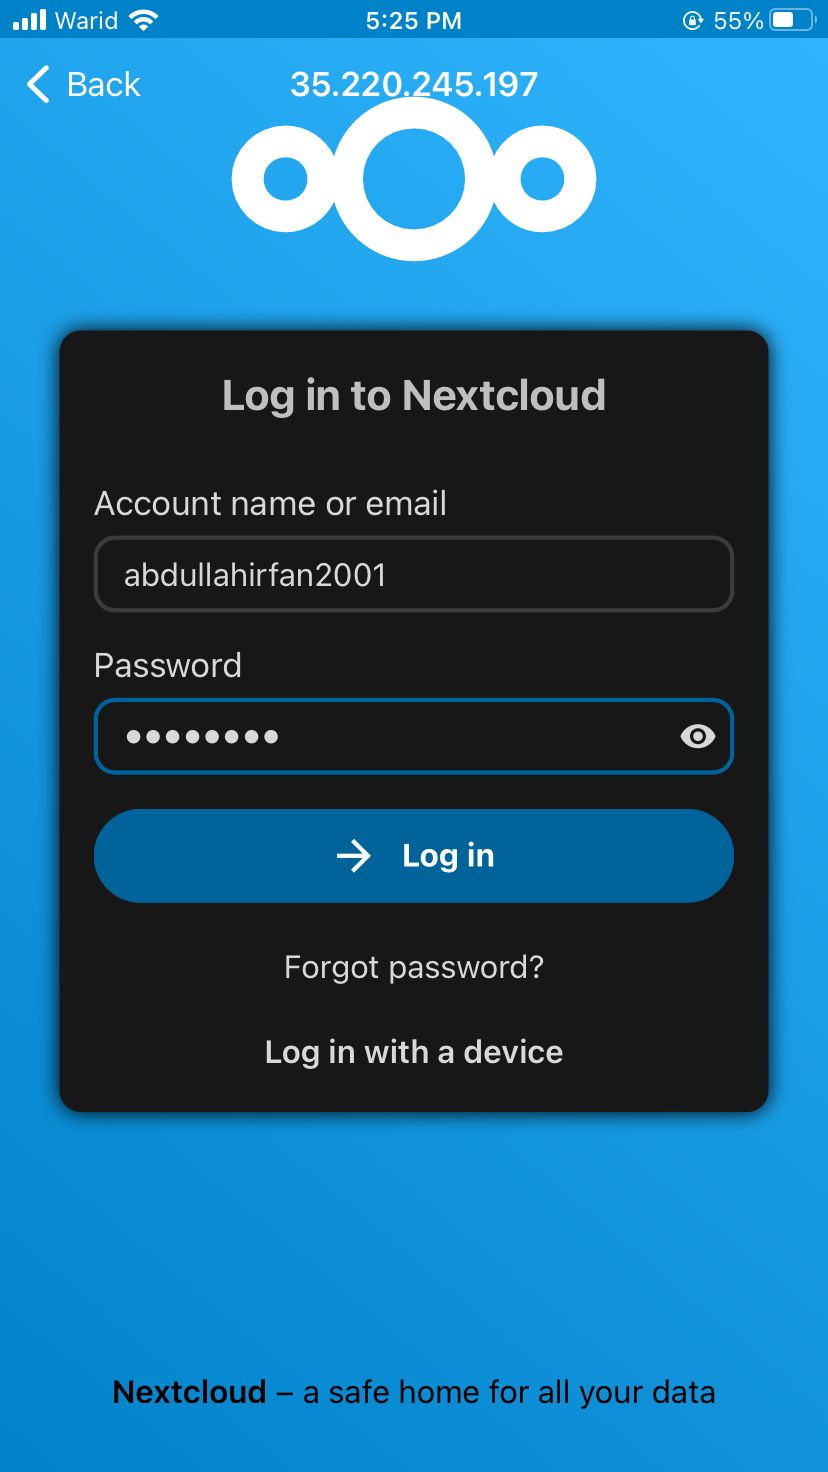
Task 3. Accessing NextCloud from a mobile device
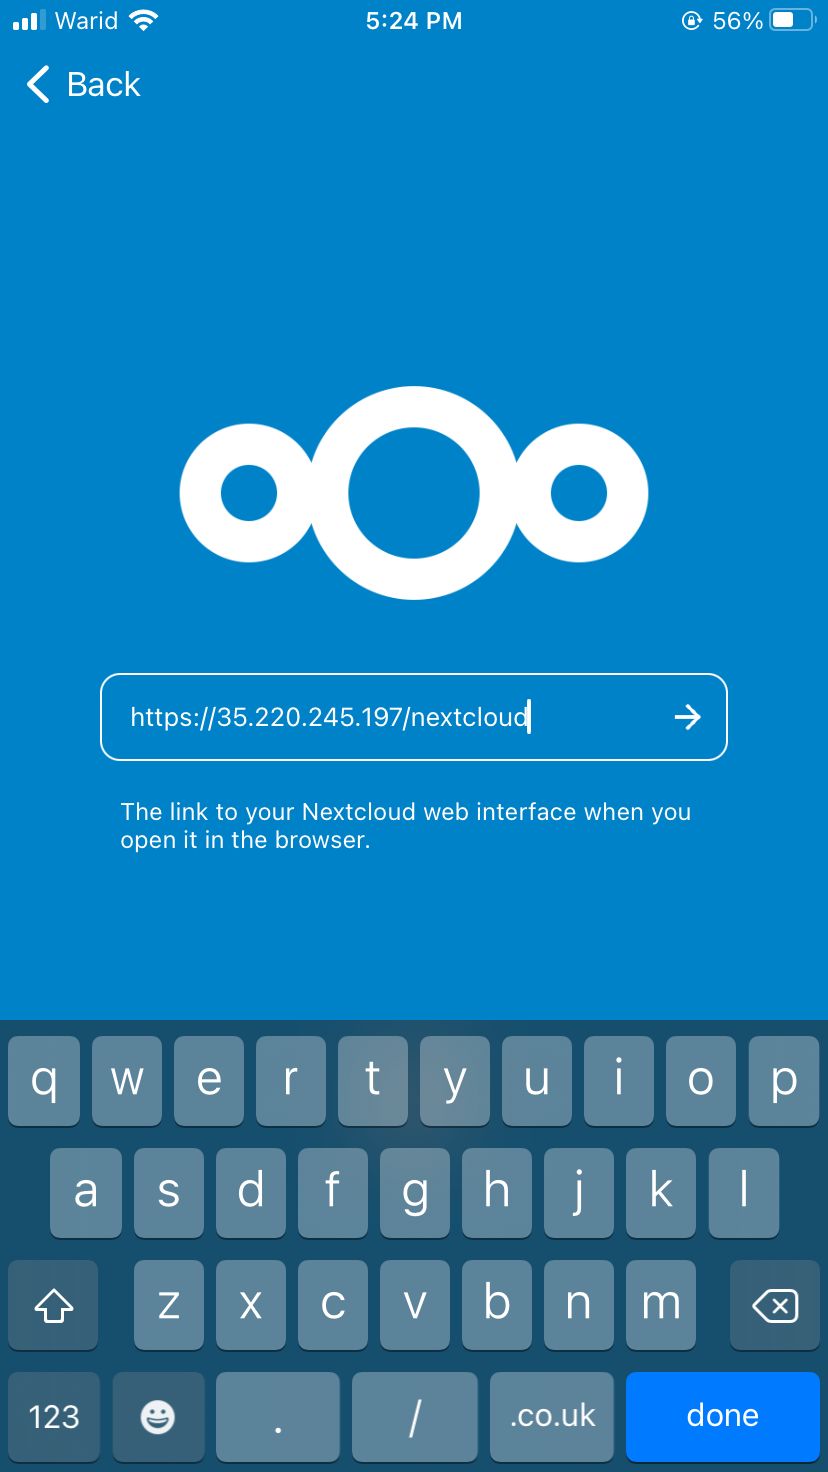
Download the NextCloud client
Enter the URL i.e. https://{PUBLIC IP}//assets/NextCloud/ and click the arrow button.
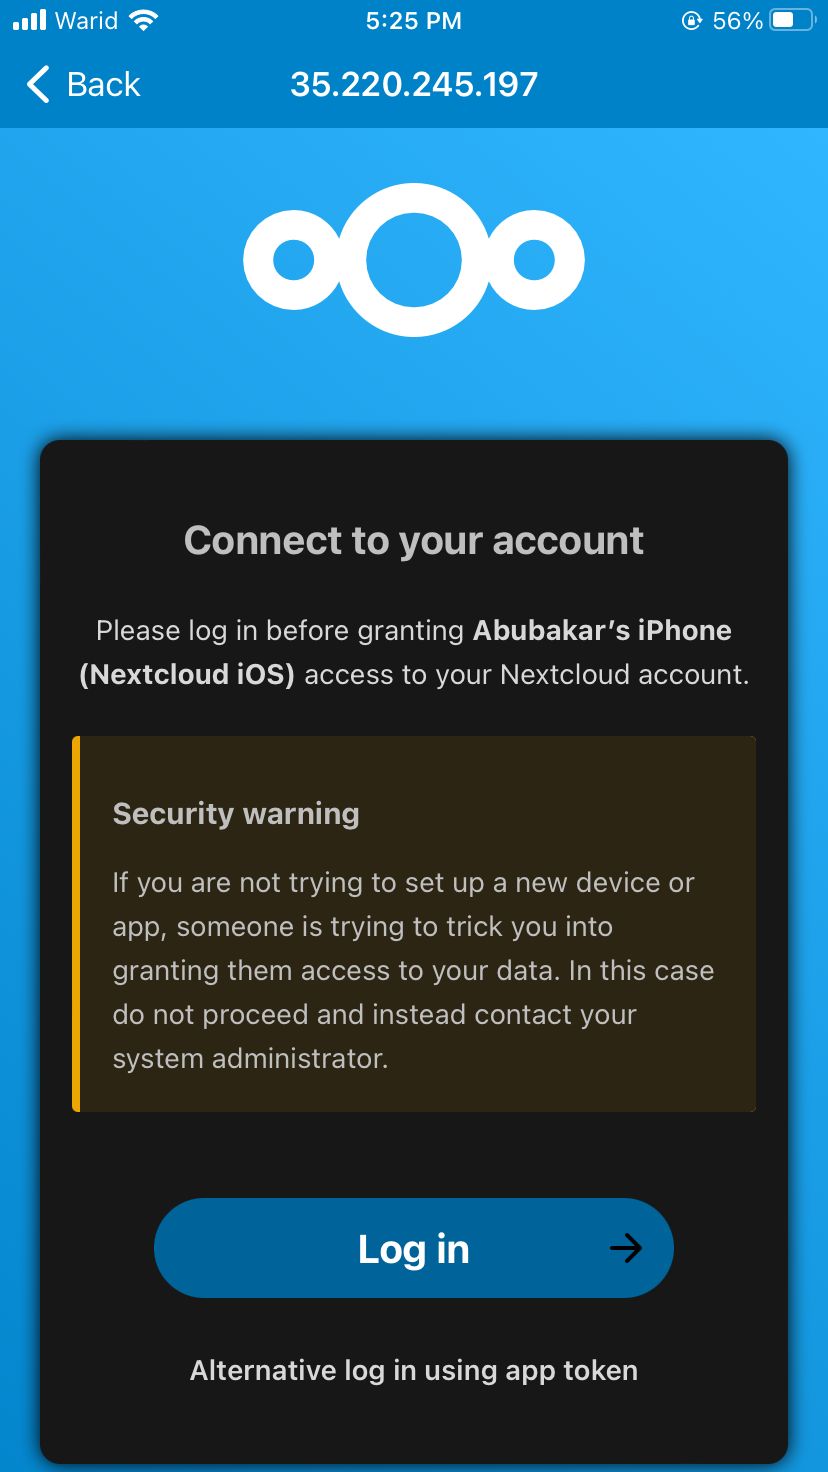
Grant access to your device to log into your NextCloud.
Enter your login details
Finally, grant access to the device for logging in with your account.
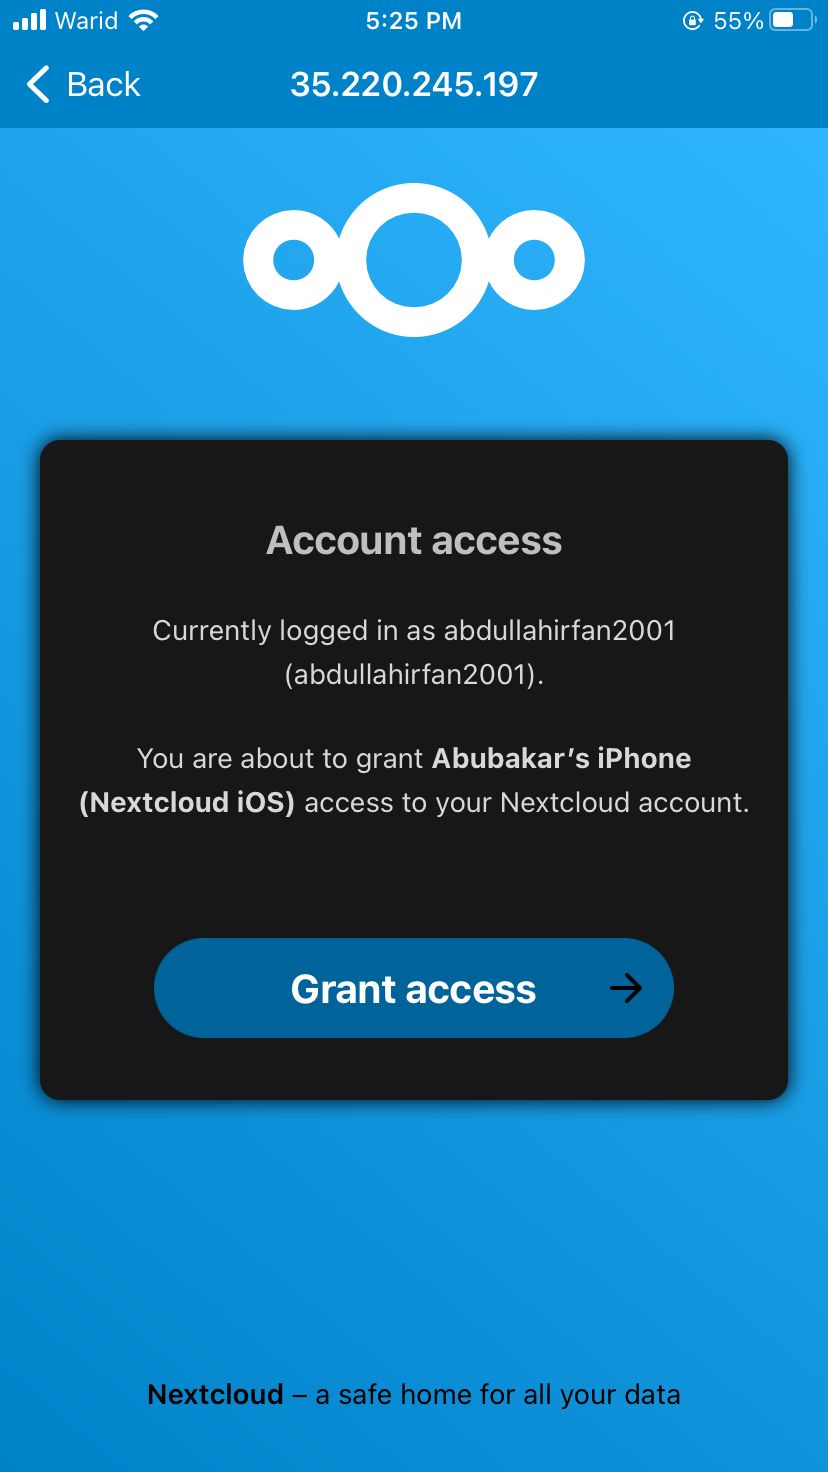
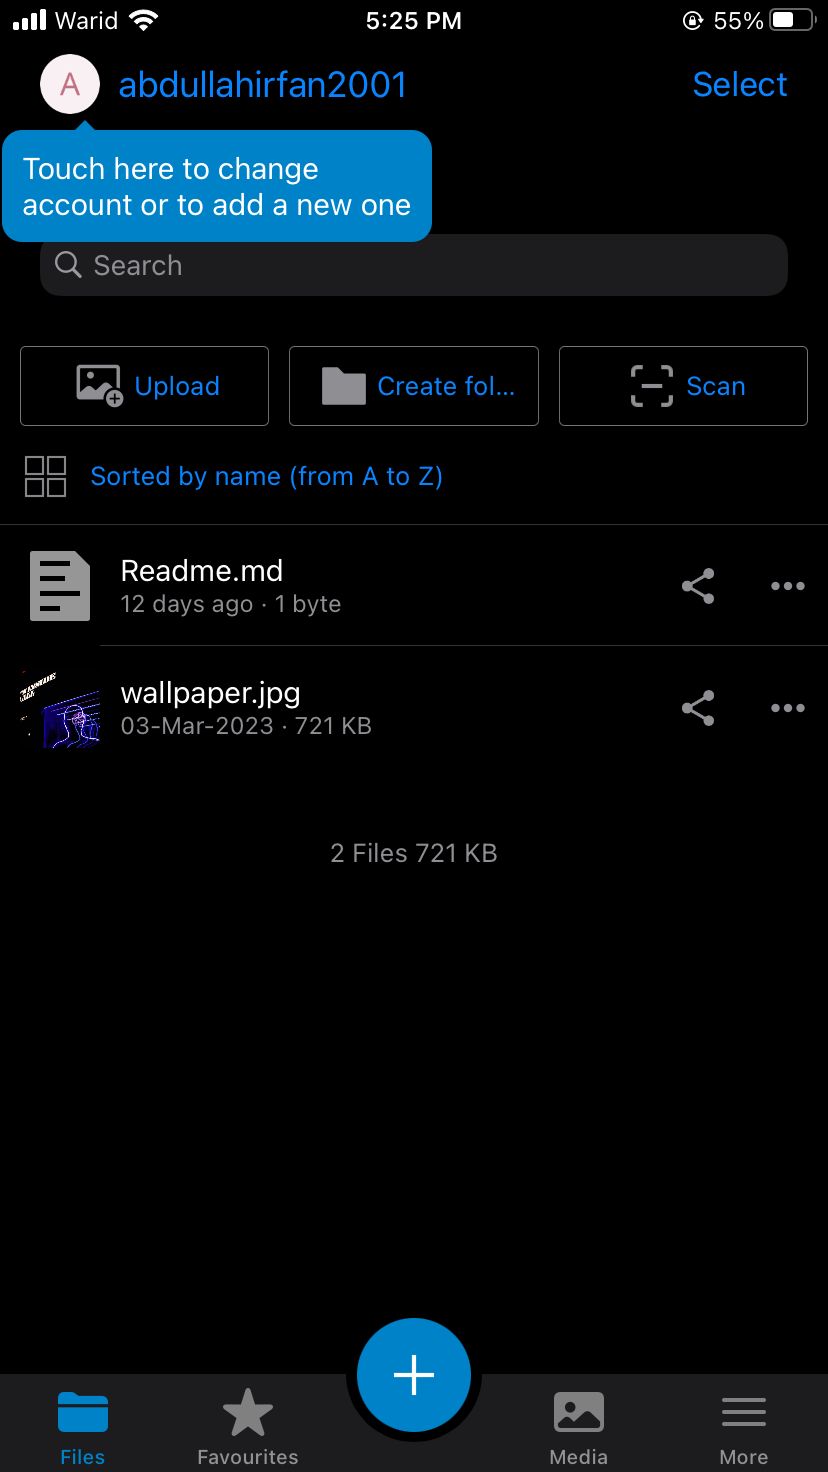
Congratulations! You just accessed your very own private cloud from your mobile device.
Task 4. Accessing NextCloud from the Desktop
Download the Desktop client for NextCloud and install it (a system reboot may be required).
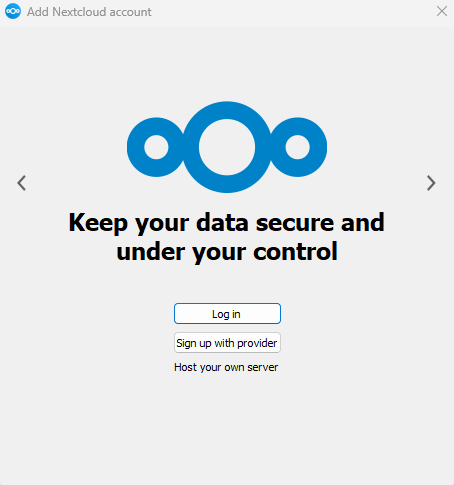
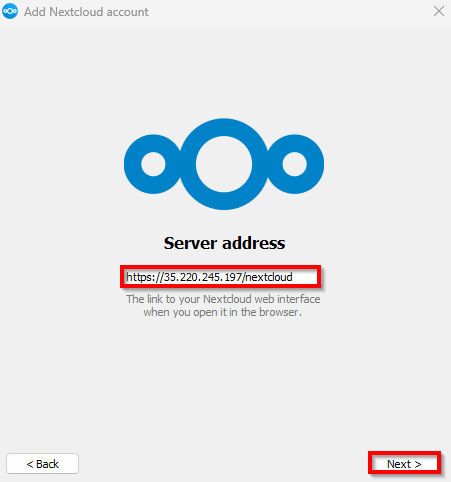
Press the login button and enter the URL of your NextCloud server.
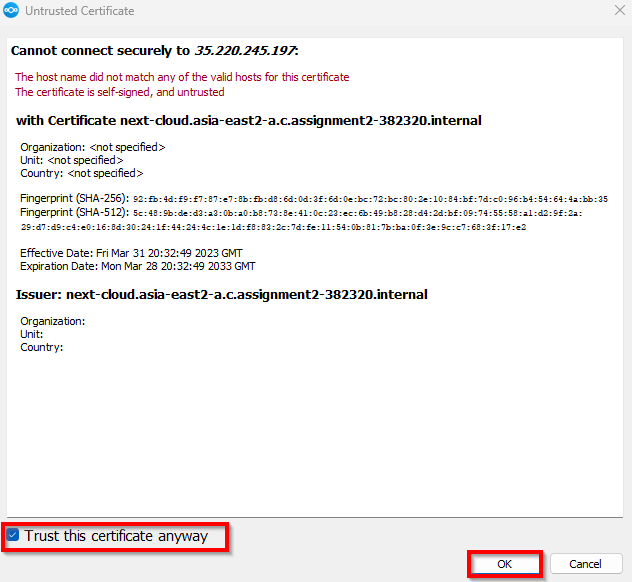
Since our SSL certificate is not registered with a valid Certificate Authority, we will get a prompt. Tick the box that says “Trust this certificate…” and proceed.
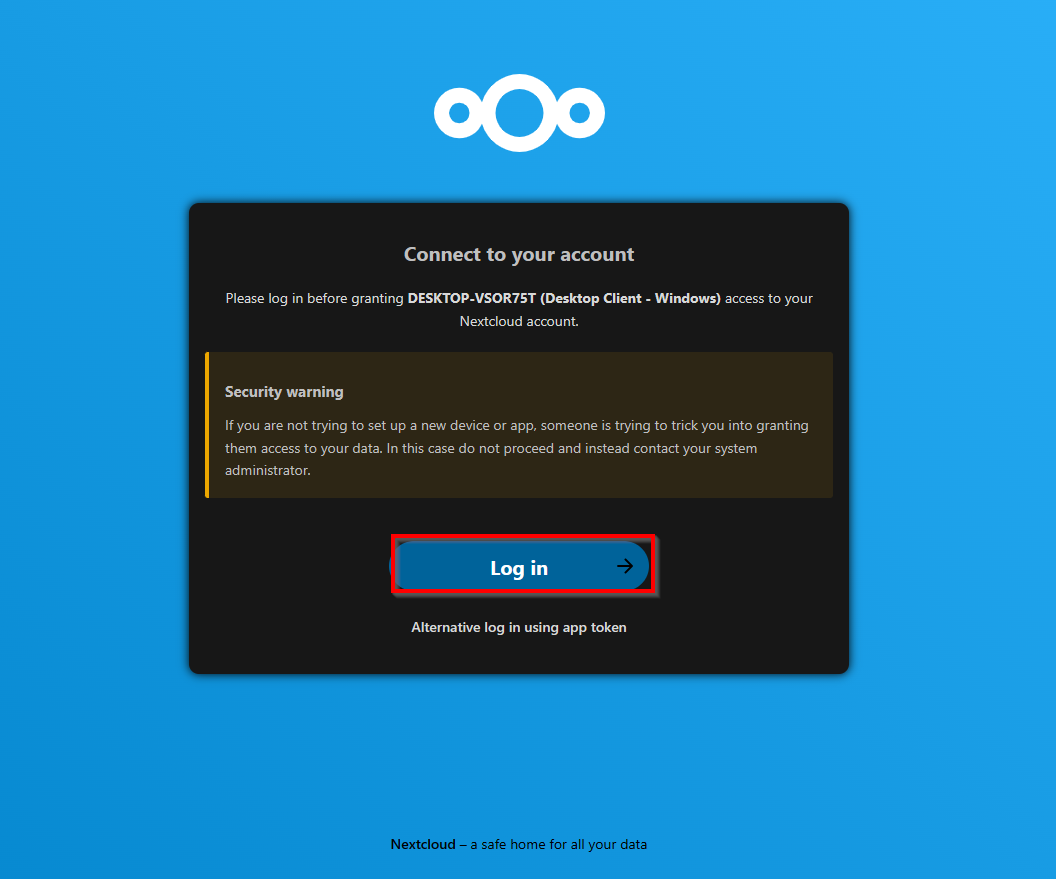
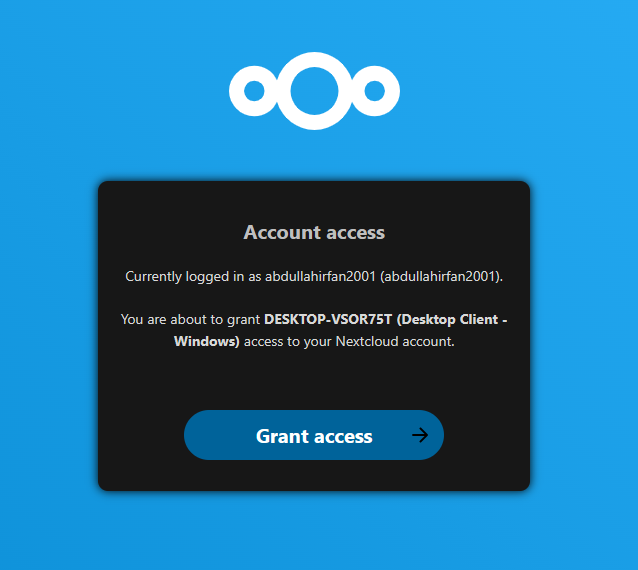
This will take you to your web browser to ask you to grant access to the desktop client. Press the login button.
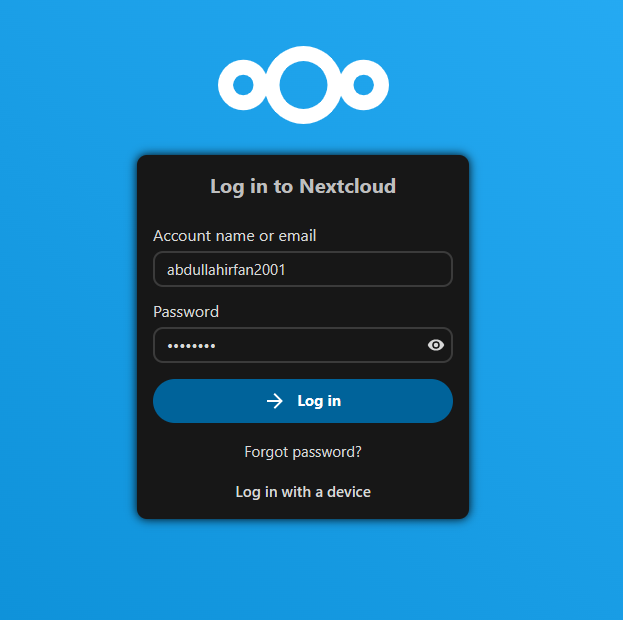
Enter your login information to authorize the desktop client.
Finally, click on “Grant Access”.
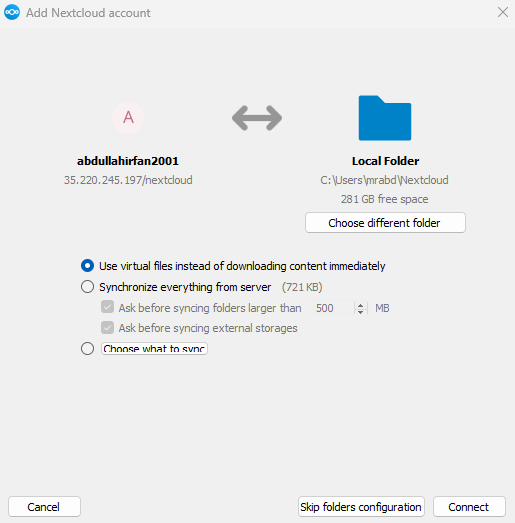
Configure the synchronization settings for your private cloud with your desktop and proceed.
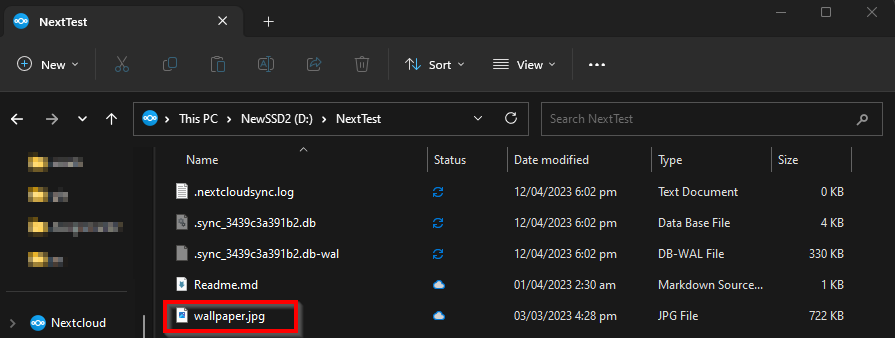
Navigate to the NextCloud directory in your file explorer and you will be able to see the file you previously uploaded to your private cloud.
Now, you can start adding users and expand your cloud!
Conclusion
NextCloud is probably one of the best choices for setting up private cloud storage for your organization and even personal use. It provides built-in features such as identity and access management, data seperation and more. Keep all your important data stored on a central server and access it anywhere in the world, on any device.